Comparing results
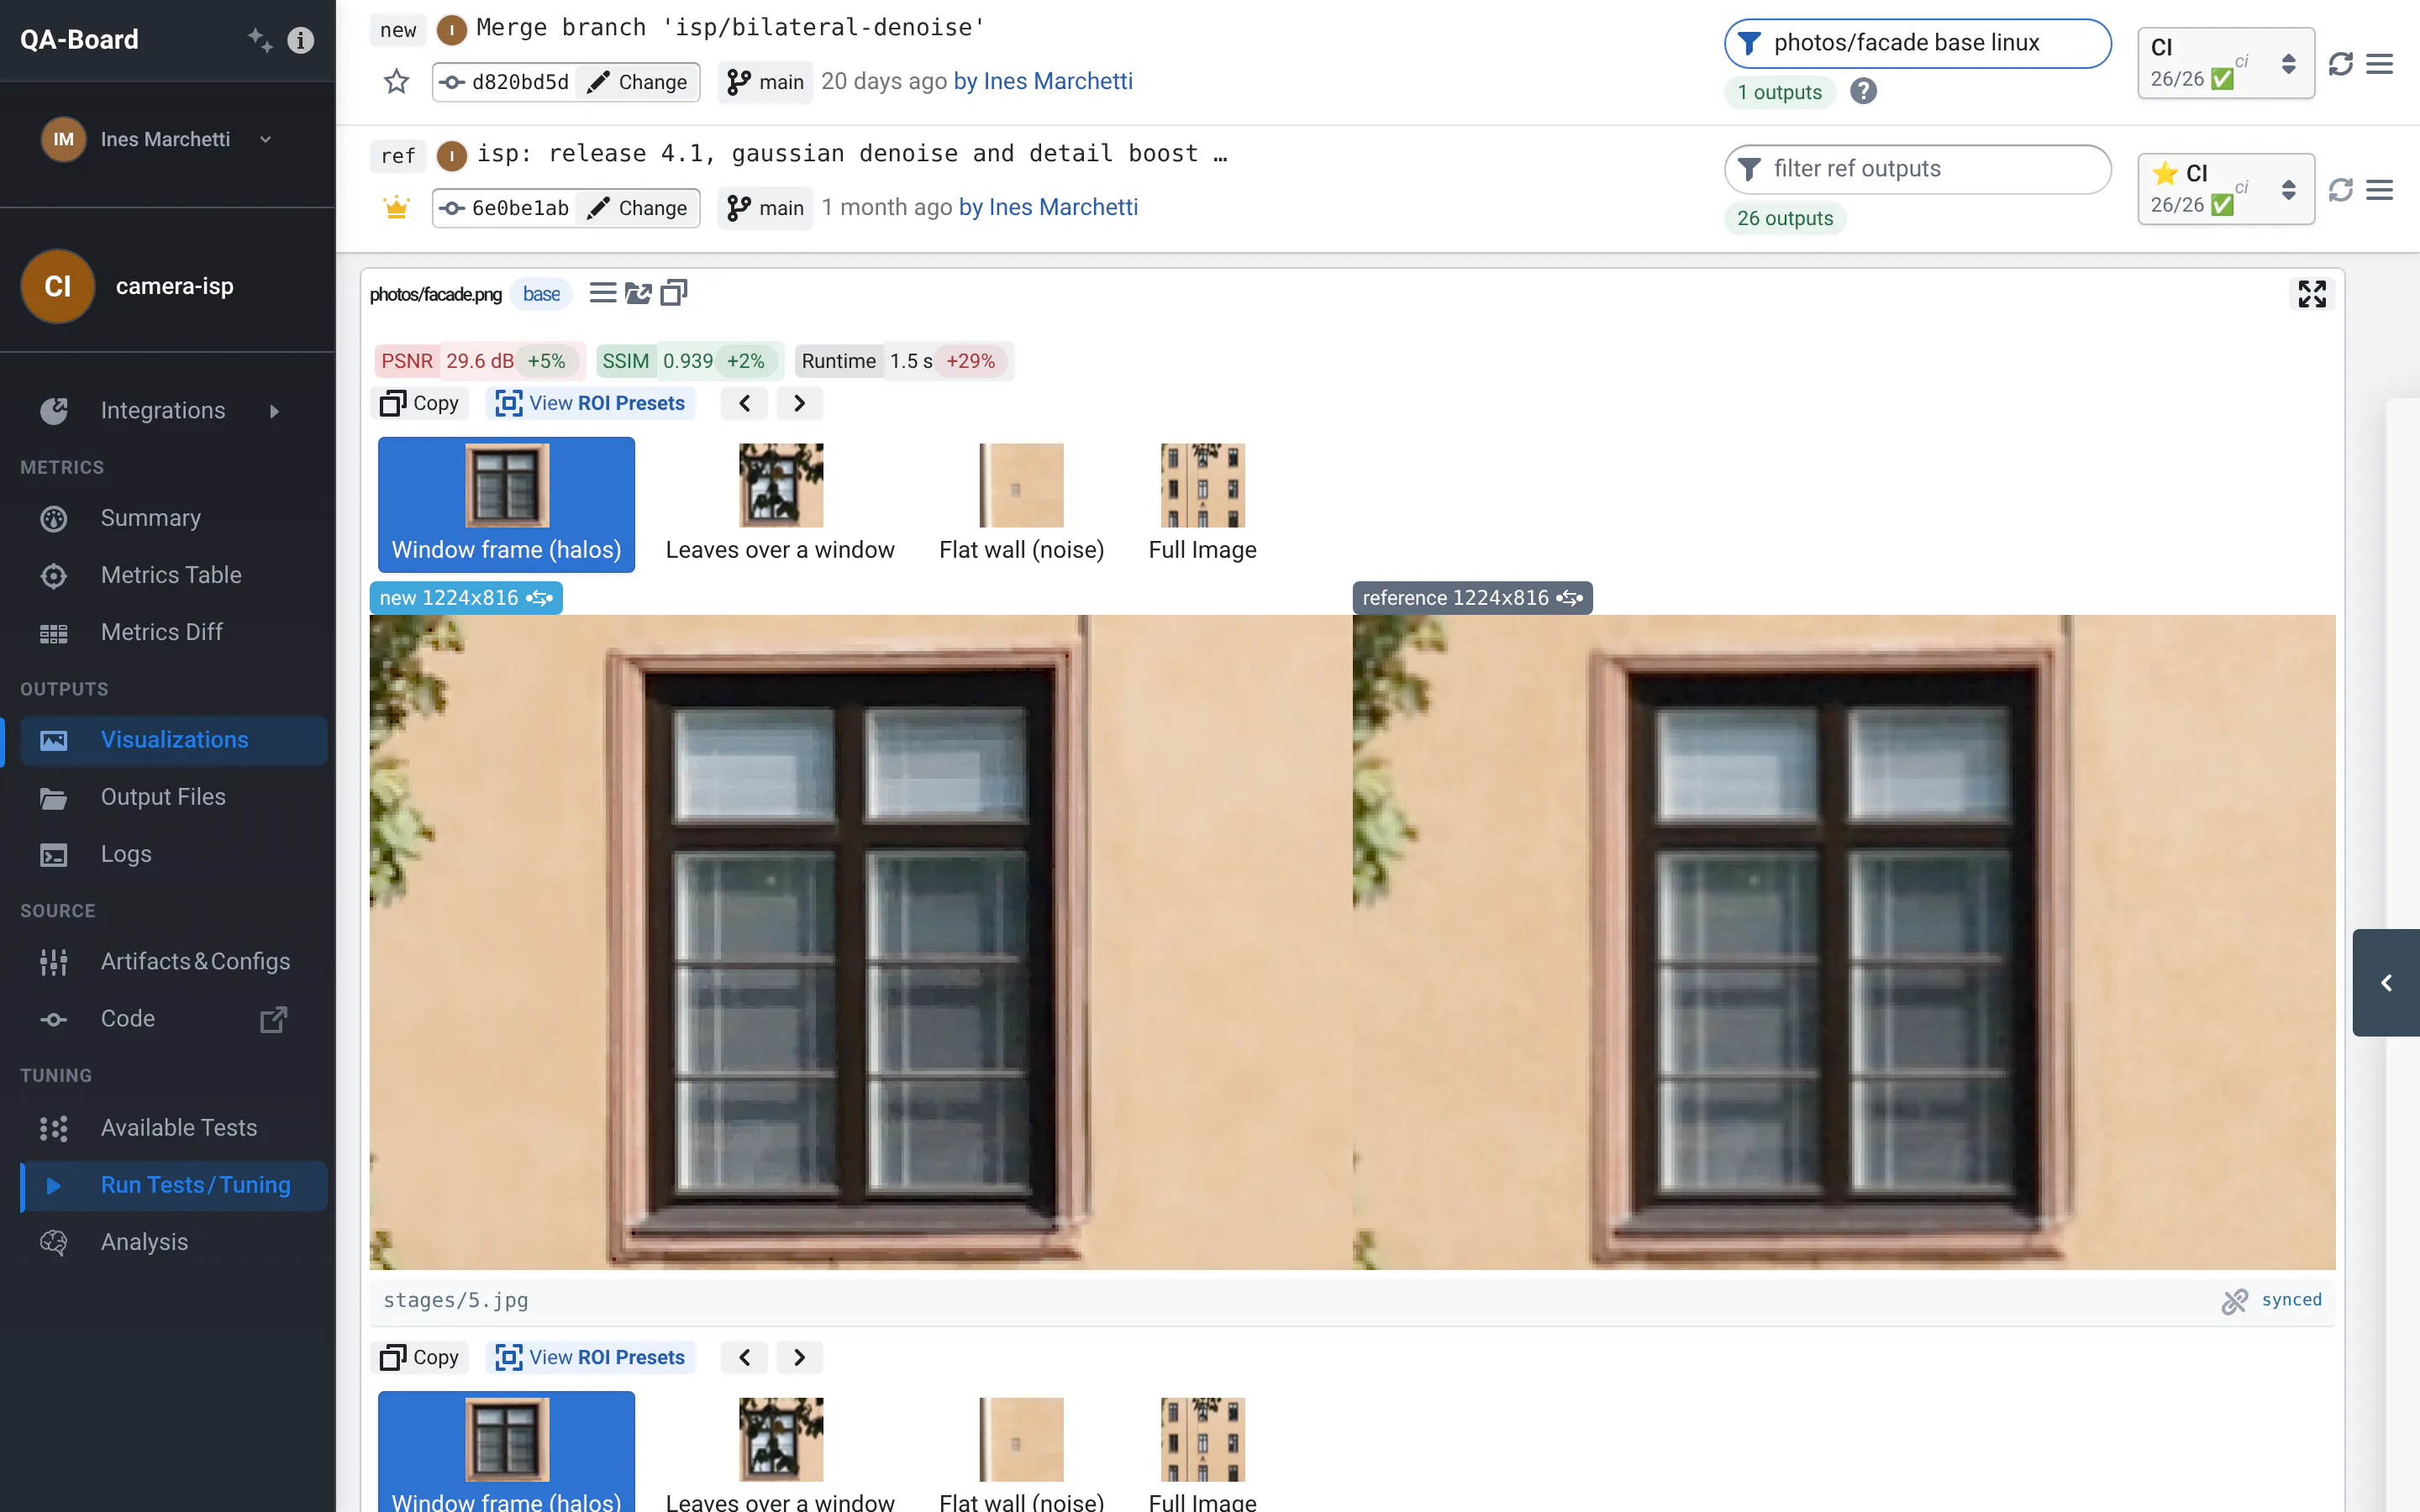
QA-Board always shows the results of a new commit next to a reference (ref). Knowing what you compare to is half the job.
The default reference
When you open a commit without choosing a reference, the reference is the latest commit with results on the project's reference branch (often master or develop, set in the project's qaboard.yaml).
As soon as it is known, its hash is added to the URL (reference=<hash>): a link you share later still compares with the same commit, even after new commits land.
Picking a reference
In the ref bar (or the new bar, it works the same way):
- Type a commit hash in the commit field. Short hashes work.
- Click the branch name to select the latest commit of that branch.
- Hover Change next to the commit field for a menu:
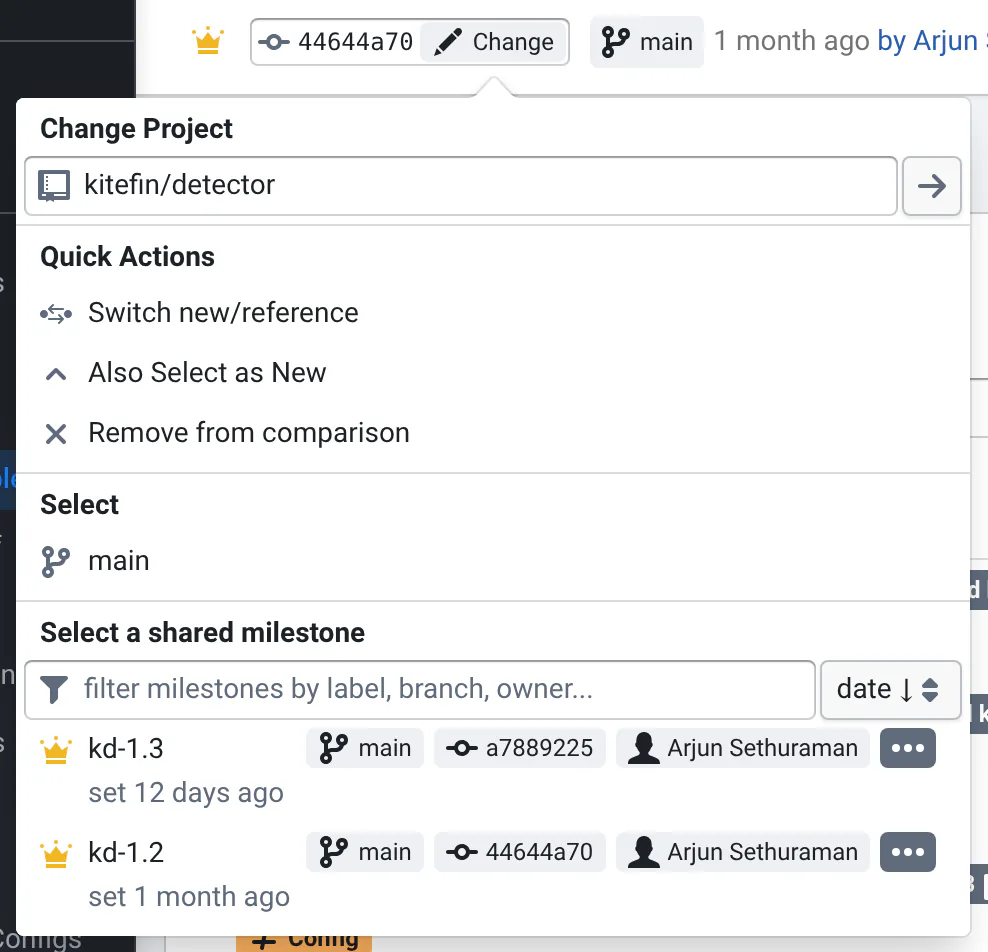
| Menu item | What it does |
|---|---|
| Change Project | Pick results from another project, e.g. another sub-project of a monorepo, or a fork. |
| Switch new/reference | Swaps the two commits, with their batches and filters. |
| Also Select as Reference / as New | Copies this commit, batch and filter to the other bar. Handy to compare two batches of the same commit, e.g. a tuning experiment vs CI. |
| Remove from comparison | Clears the commit. |
| The reference branch | Selects its latest commit. |
| Milestones | From qaboard.yaml, shared, or private. The milestone's batch and filter are selected too. |
Each bar also has its own batch selector and filter: you can compare any batch of any commit with any other.
To see what a tuning experiment changed, select its batch in the new bar, then use Also Select as Reference and pick the CI batch in the reference bar.
How runs are matched
For each new run, QA-Board finds the most similar reference run: first the same input, then the closest configuration, the closest tuning parameters, and the same platform.
When the best match is not identical, yellow tags warn you on the run: Input, Config, Platform or Tuning (with a ≠ icon). Hover them to see what the reference used. If a run has no match at all, it has no reference values or visualizations.
Matching only uses the reference runs left by the filter ref outputs box. If you filter the new runs, filter the reference the same way.
Milestones
Milestones are bookmarks for references worth keeping: a release, a benchmark, "the best tuning so far". They are kept by the cleanup of old results, and protected from deletion.
There are three kinds:
| Kind | Who sees it | How to create it |
|---|---|---|
| From qaboard.yaml (crown icon) | Everyone | The project's qaboard.yaml lists branches, tags or commits under project.milestones. See References & Milestones. |
| Shared (crown icon) | Everyone | The star in a commit bar, with Shared on. |
| Private (star icon) | Only you, in this browser | The star in a commit bar, with Shared off. |
To save a milestone, click the star next to the commit hash in the new or ref bar. Give it an optional label and notes, choose whether it's Shared, then Save:
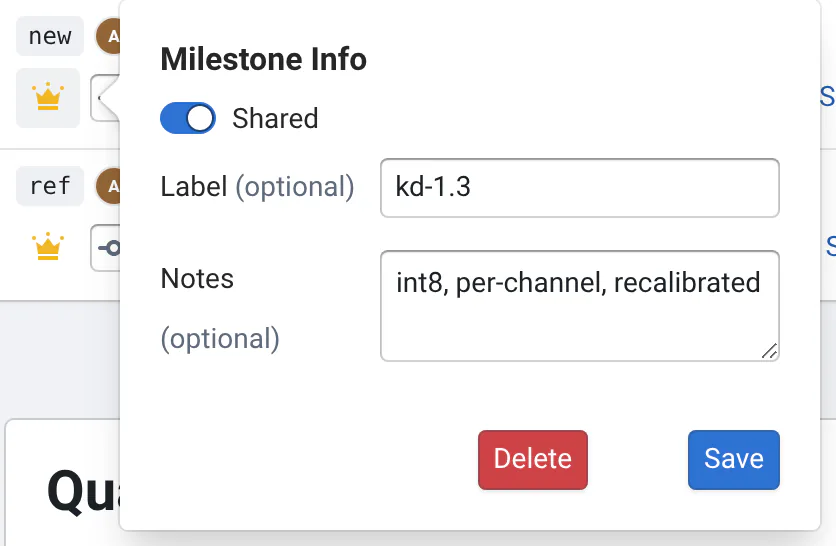
- A milestone remembers the commit, the selected batch and filter.
- Click the star again to edit or Delete it. You can only edit or delete shared milestones that you created, and you need to be logged in.
- Pick milestones from the Change menu of the commit bars, or from the Milestones menu of the project's sidebar. With many milestones, filter them by label, branch or owner, and sort them by date.
- Milestone commits show a star in the commit list, and milestone batches a
⭐in the batch selector.
Private milestones are stored in your browser: they don't follow you to another computer or browser.
Image viewers
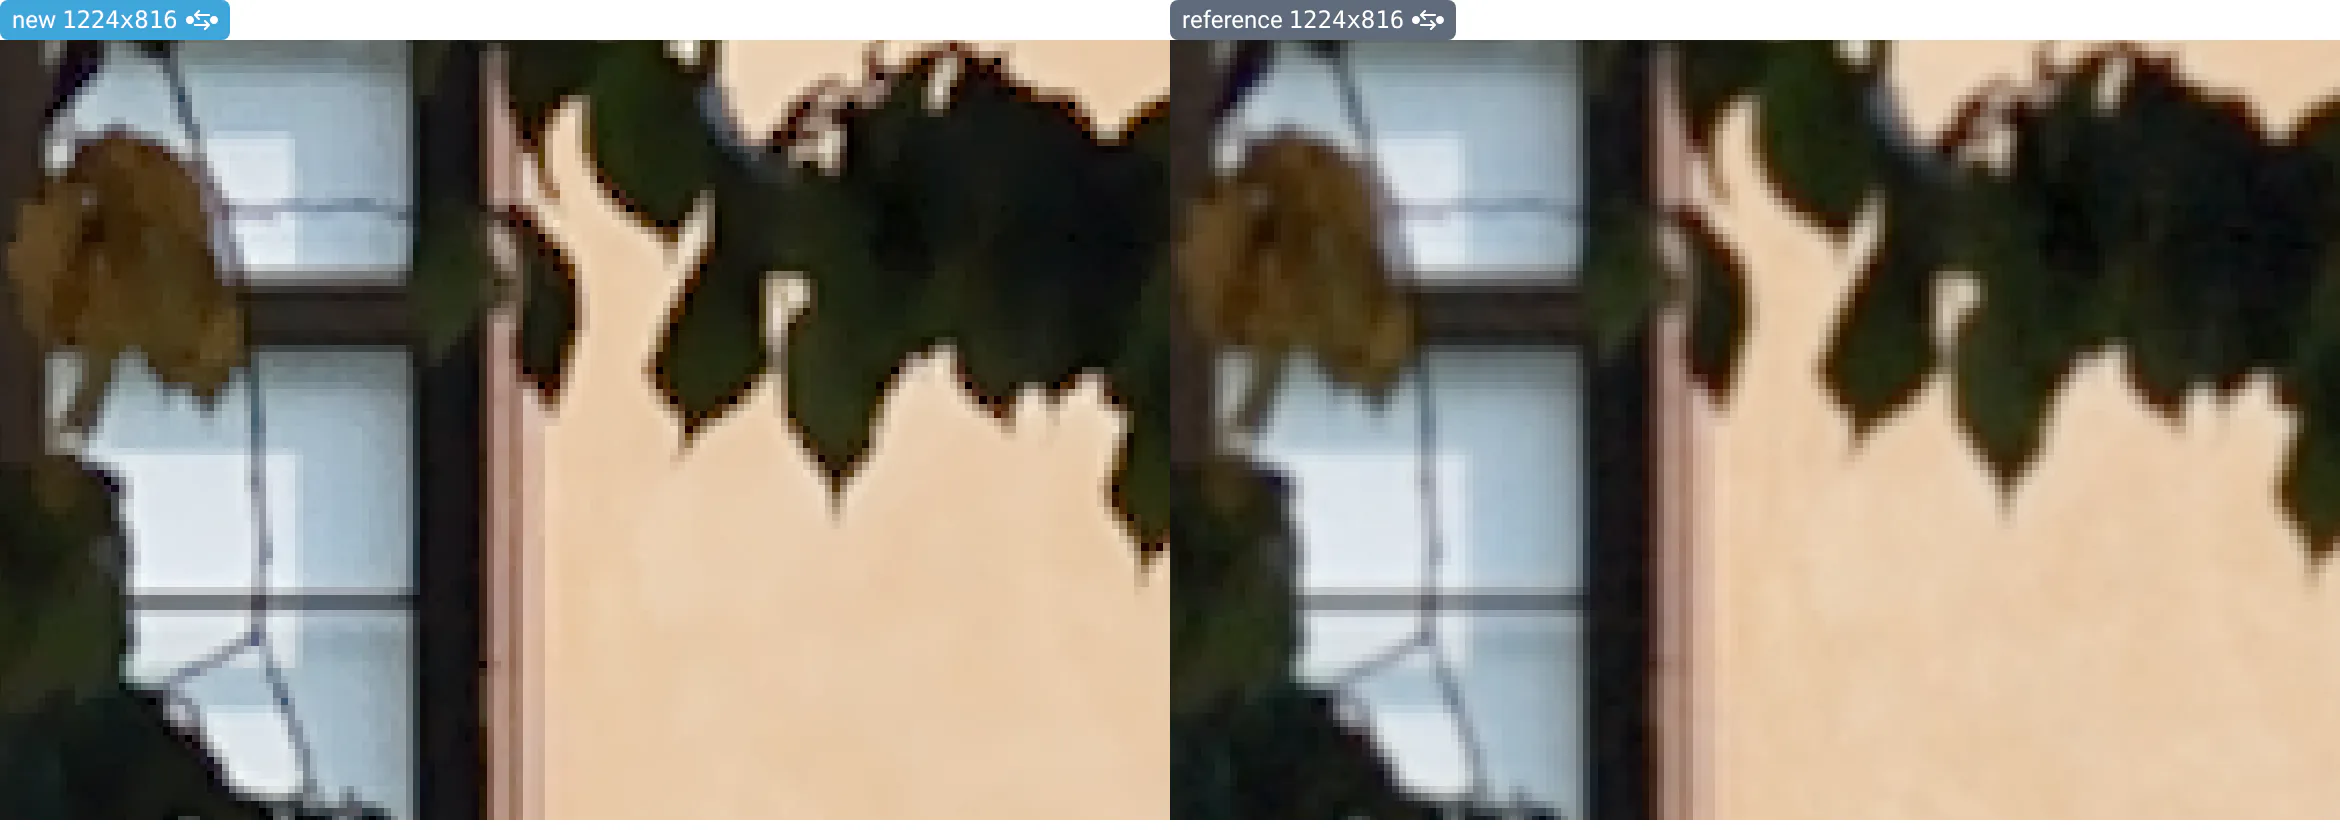
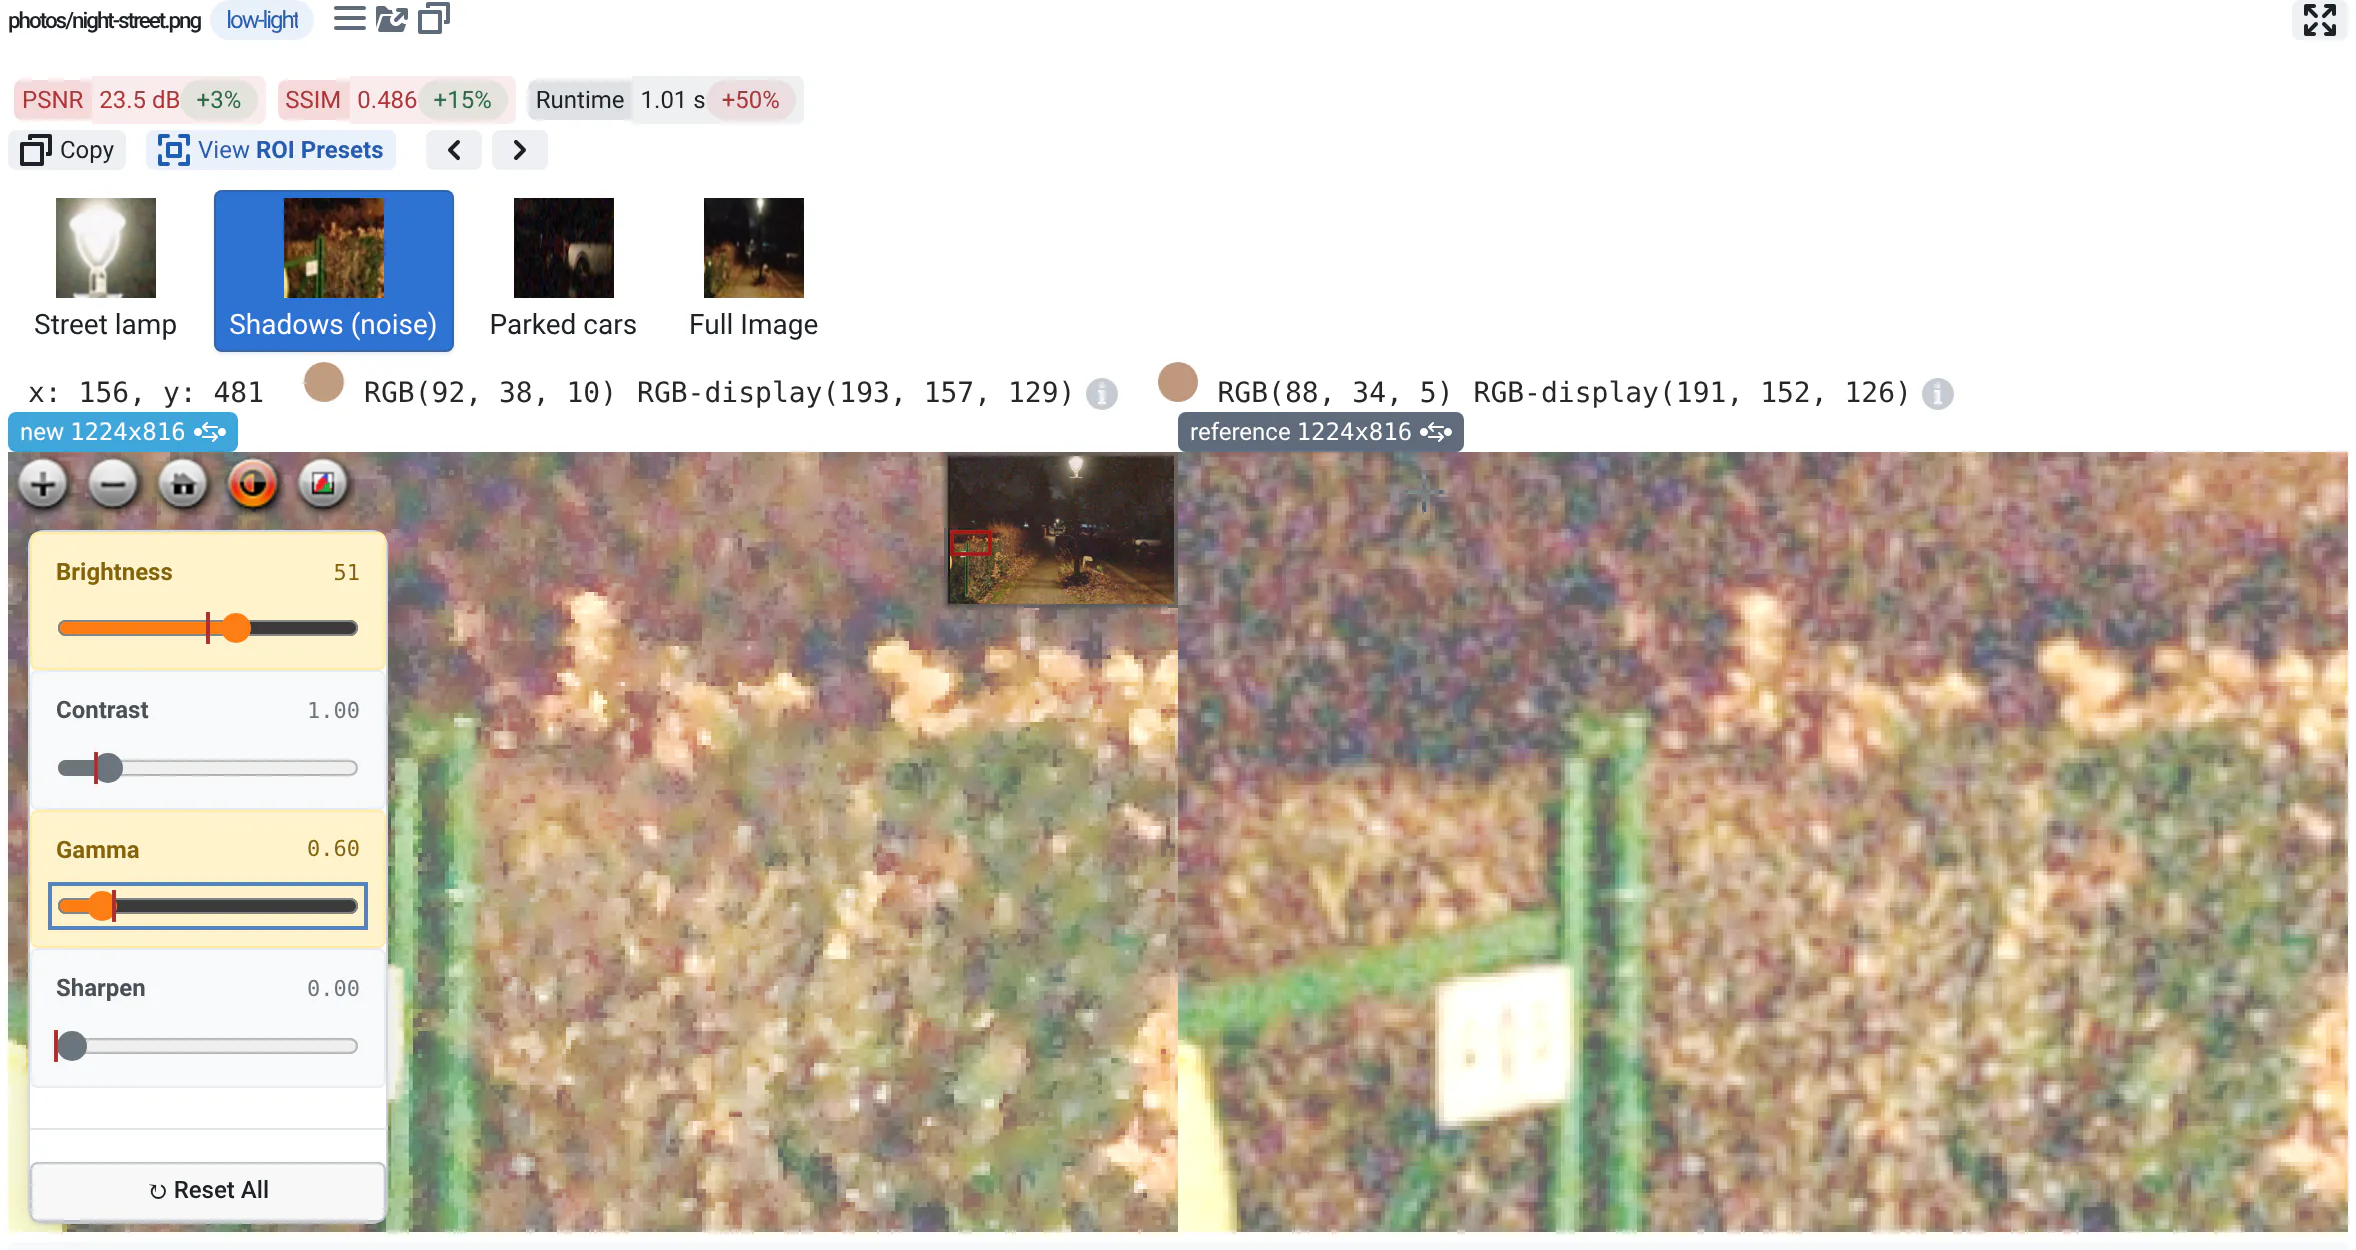
Images are shown side by side: new on one side, reference on the other.
Synced zoom and pan
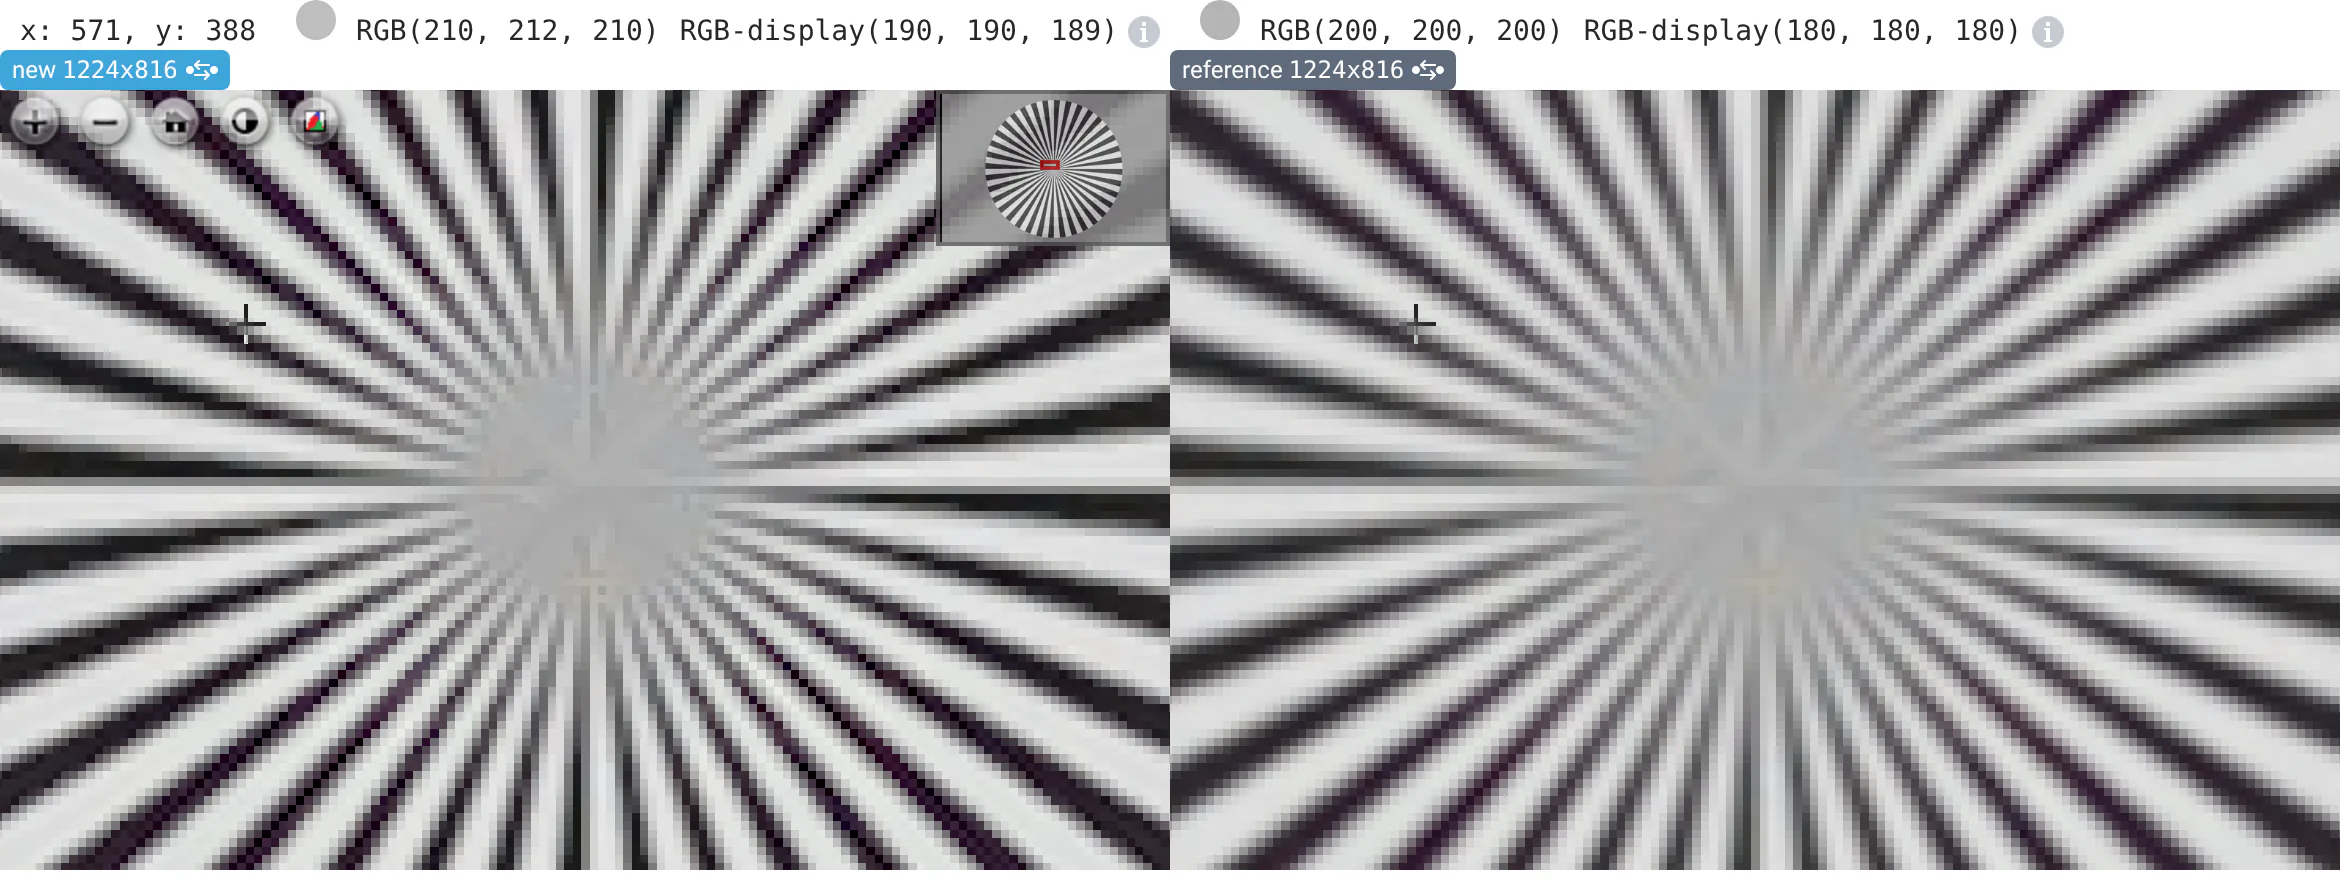
Zoom (mouse wheel) or pan (drag) in one image and the others follow. All the viewers of the same input with the same image proportions stay in sync, including the other visualizations of the run. Images of different sizes are still synced as long as their proportions match.
To flip between the two images in place, click the new or reference label, or press t: differences jump out. Press h to hide the labels.
Image Diff
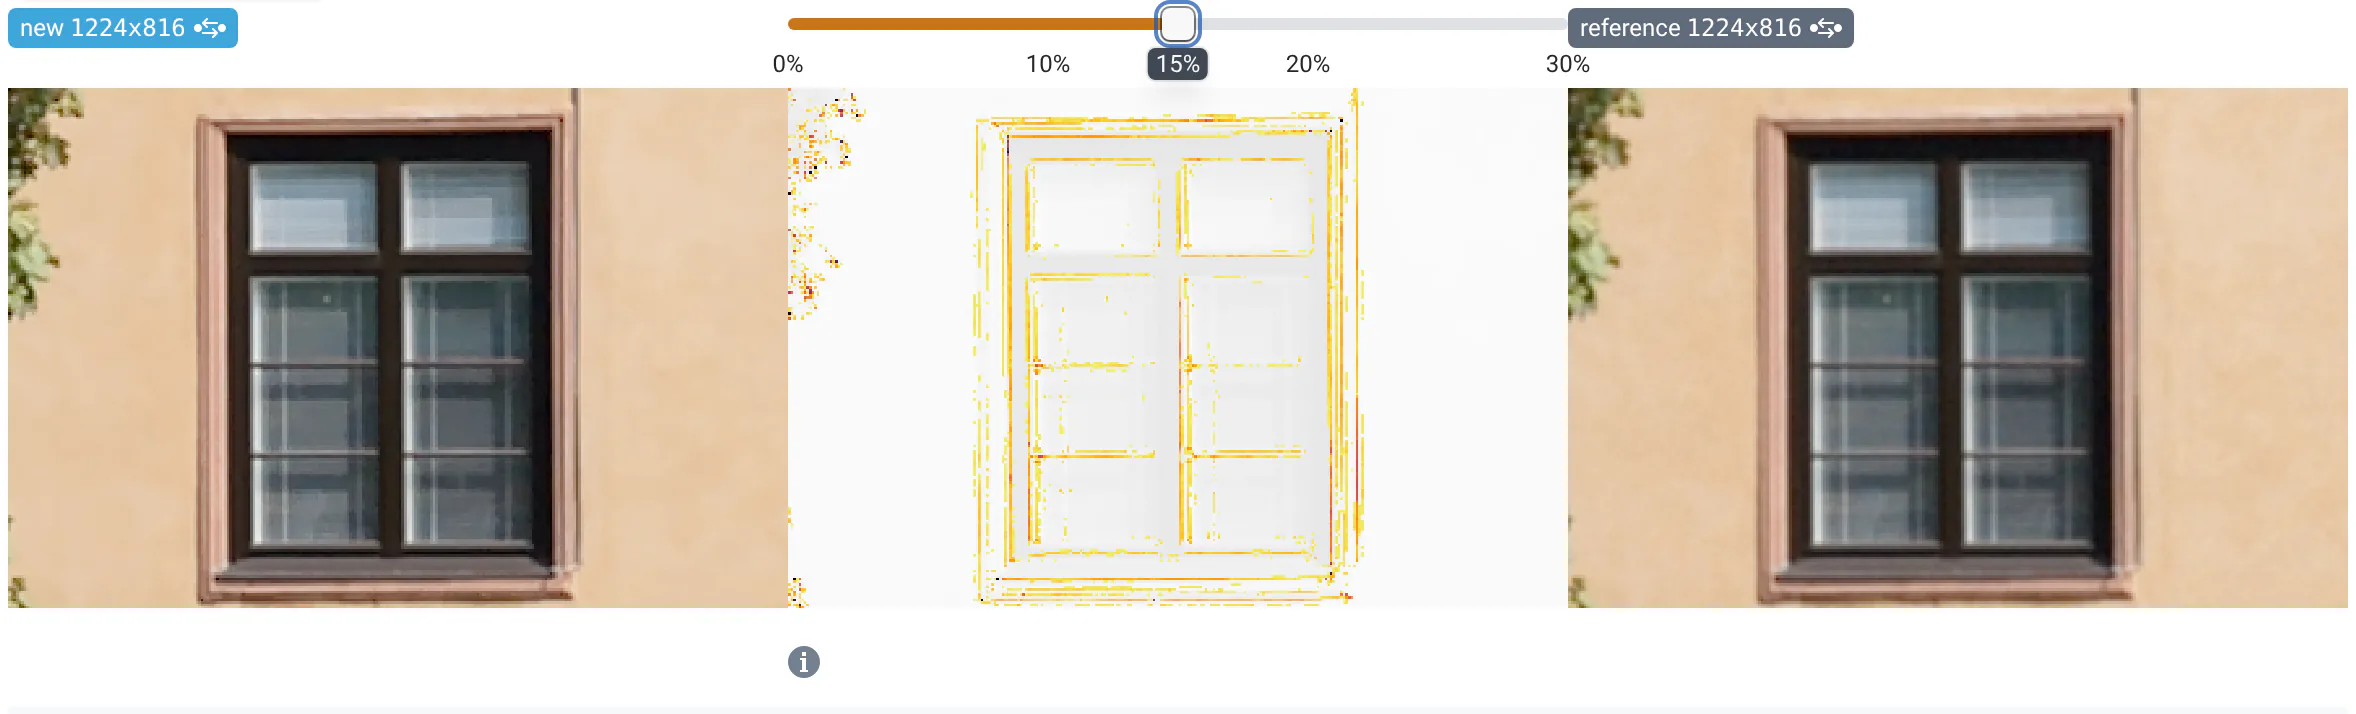
Turn on Image Diff in the Controls panel to show a perceptual color difference between the images. The slider sets the saturation threshold.
Pixel values
Hover an image to see the pixel's coordinates and RGB values, in the new and reference images, with a cross at the same spot on the other images.
Regions of interest
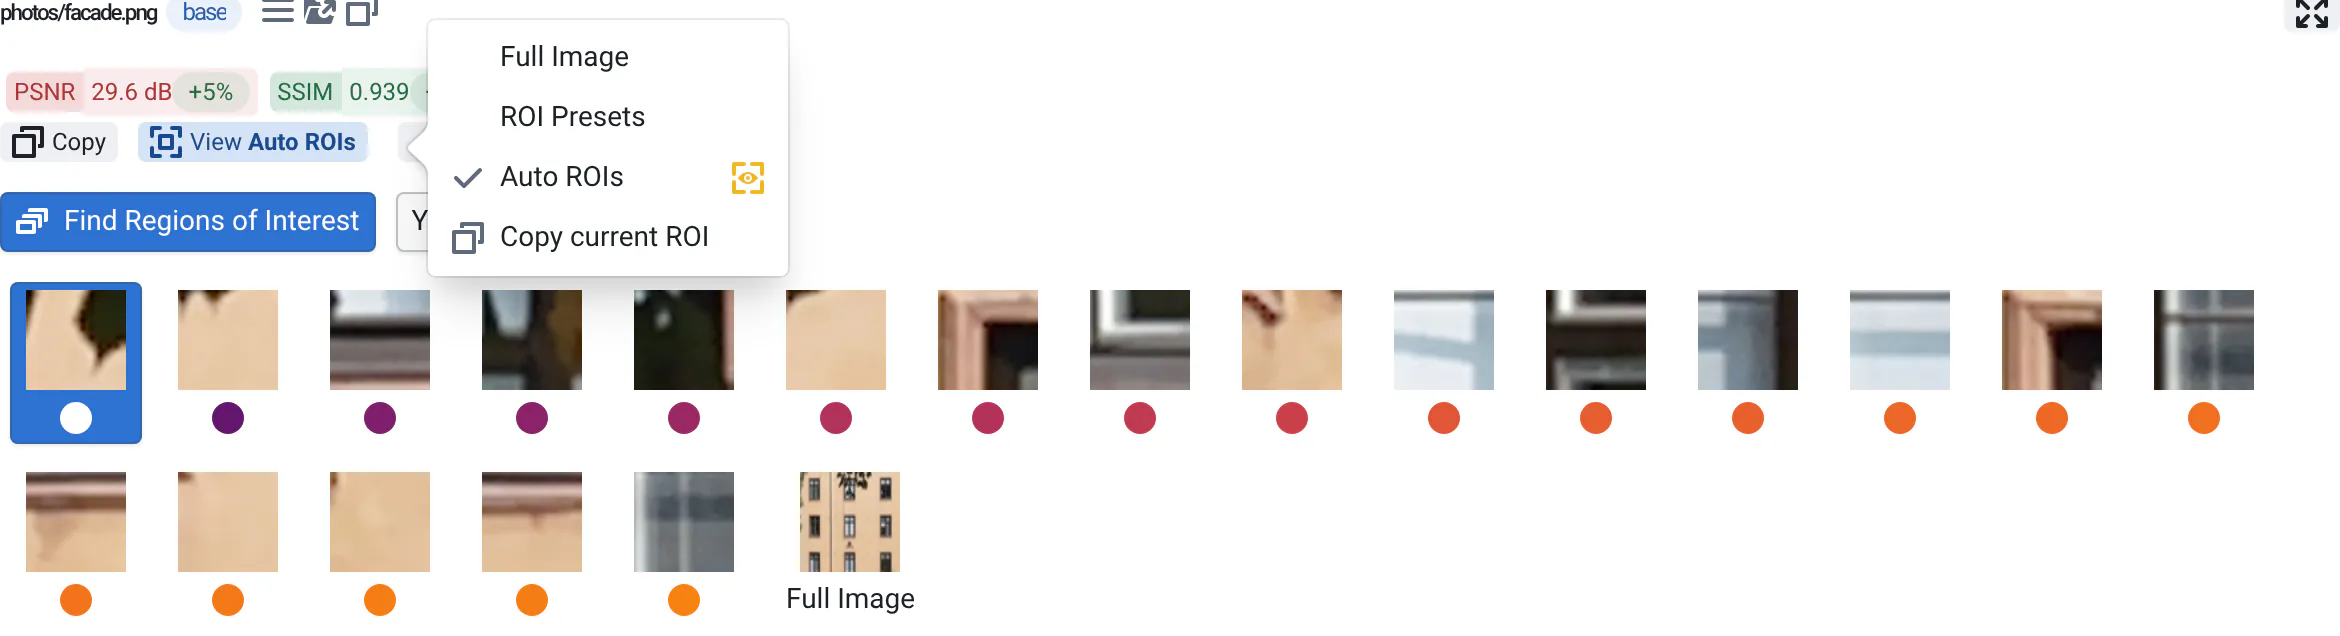
The ROI menu above the image (View ROIs) zooms on preset regions, when the inputs have them, or on Auto ROIs: Find Regions of Interest looks for the regions where the images differ most, by the measure of difference you pick (SSIM, CIE 2000...). Step through the regions with the arrows, or click their thumbnails. Copy current ROI copies the current view's coordinates.
Histograms
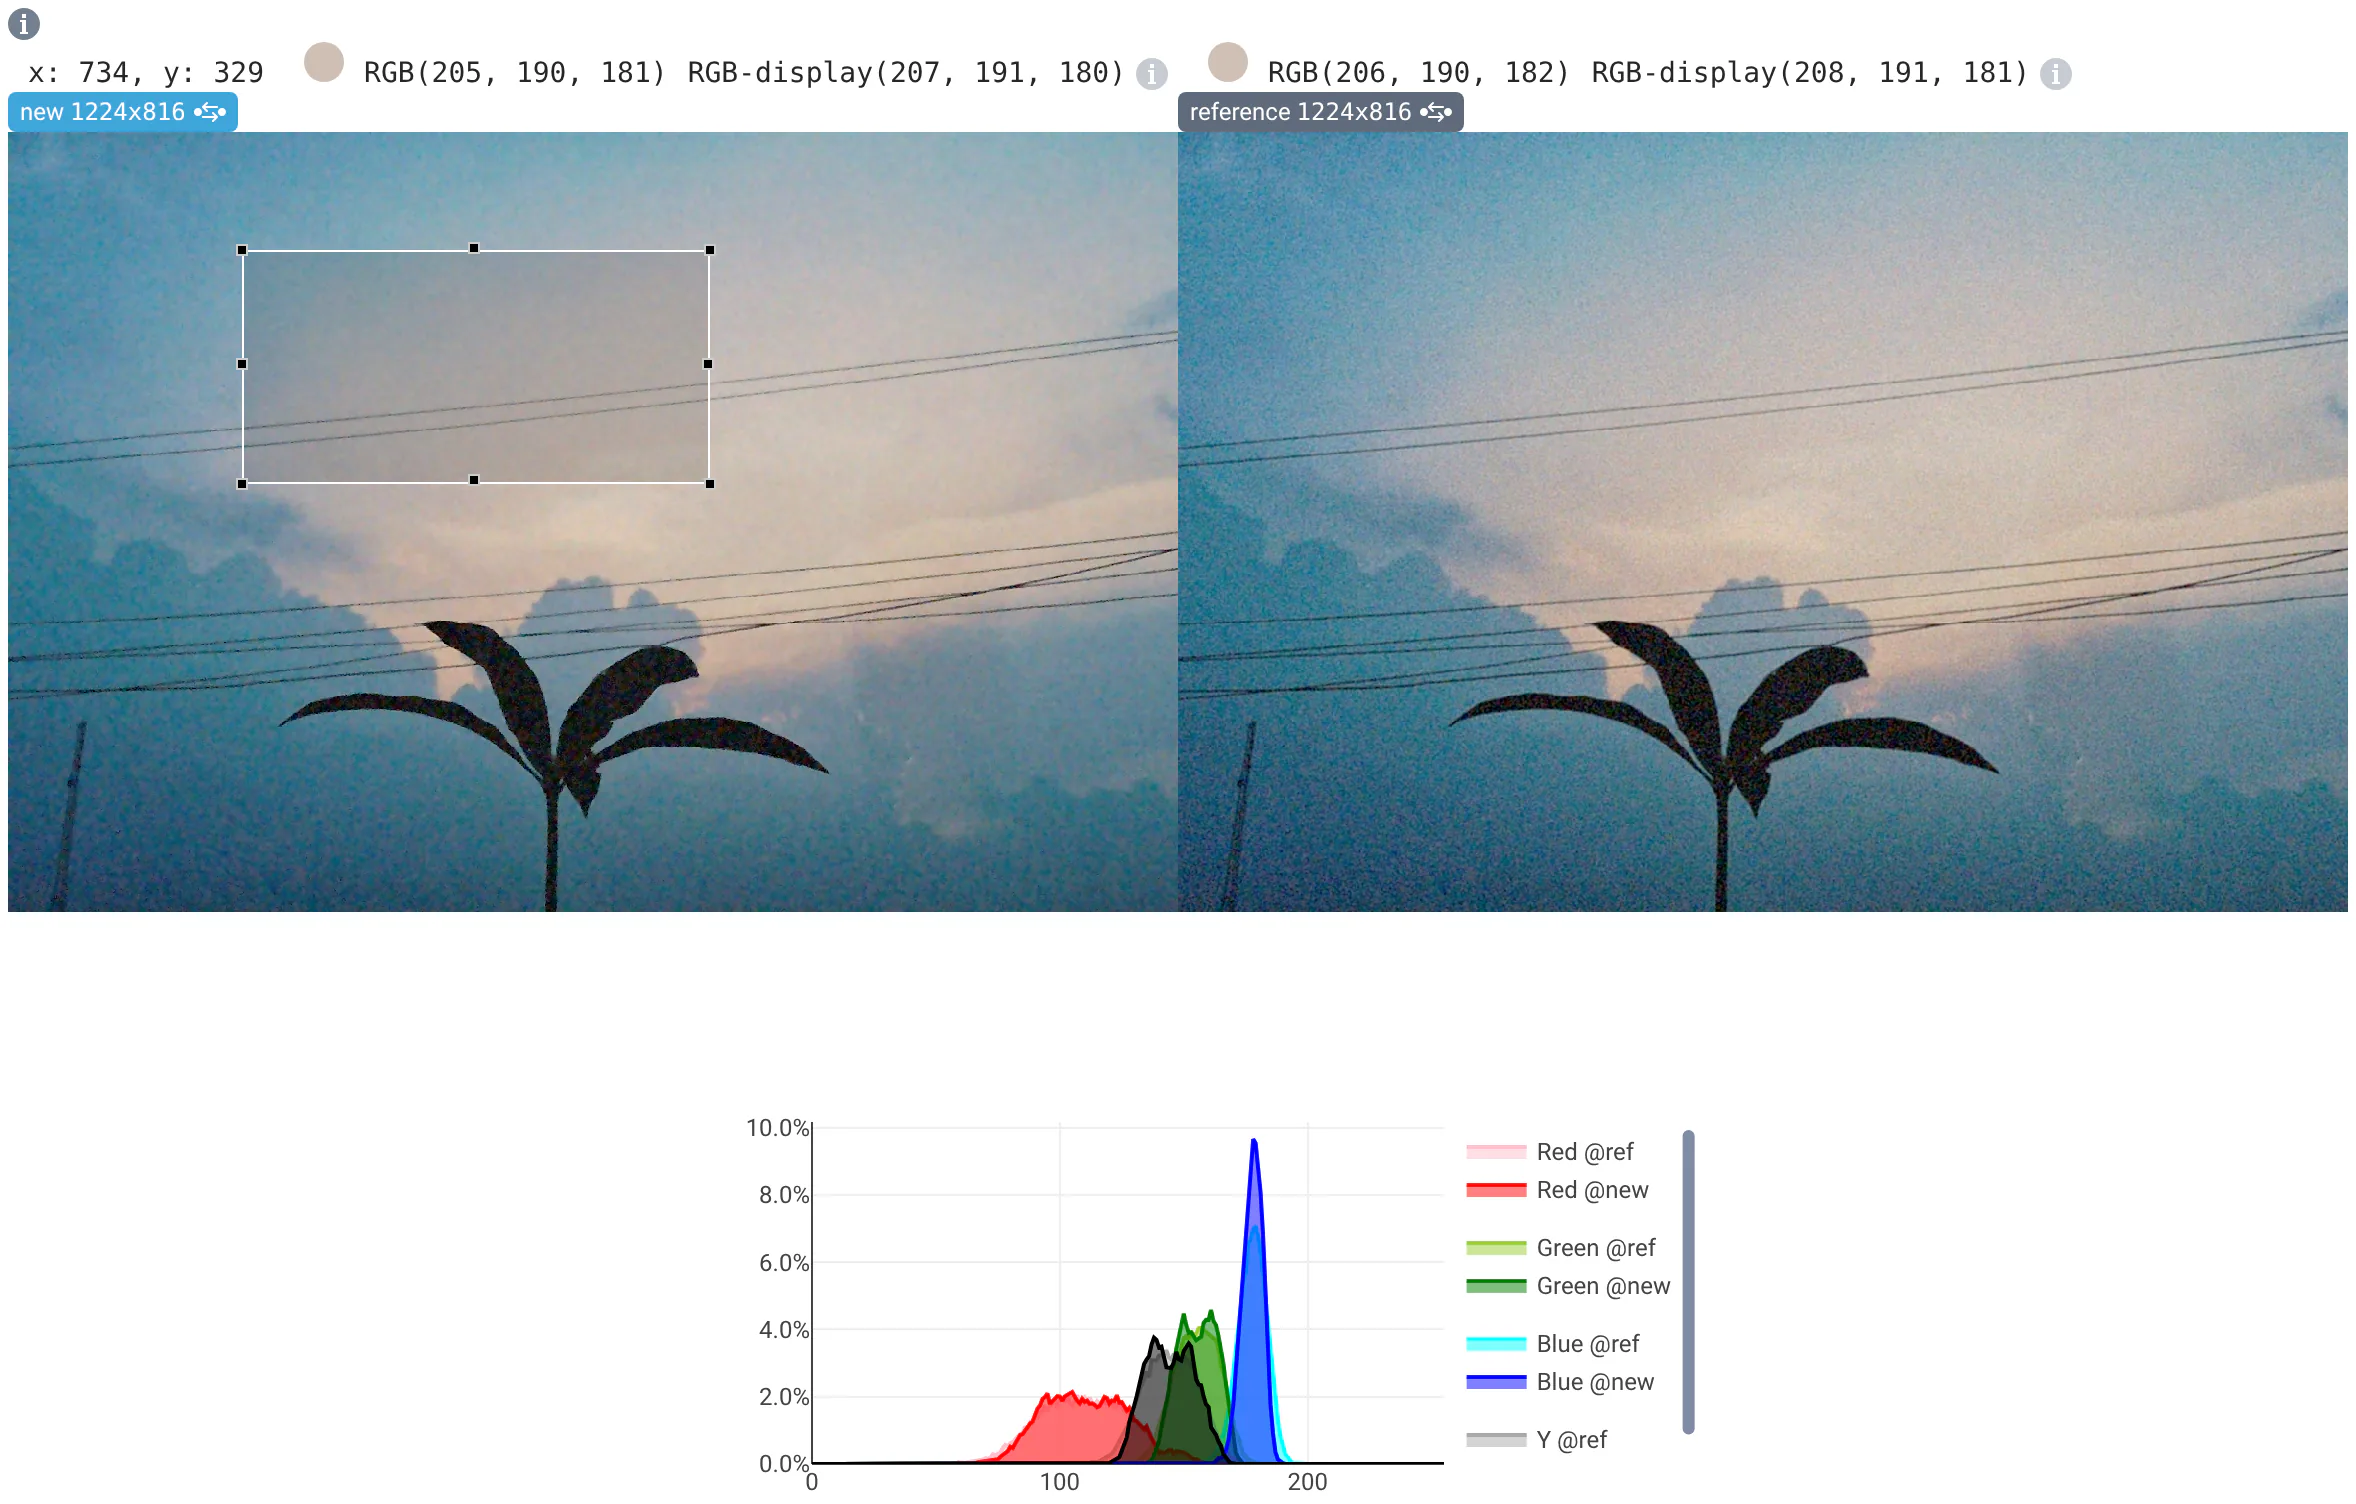
The selection button in the toolbar (or c) lets you select a region and see its RGB and luminance histograms.
Filters
A button in the viewer's toolbar opens Brightness, Contrast, Gamma and Sharpen sliders. They apply to all the viewers of the same visualization, so new and reference stay comparable.
Large images
Large images are streamed tile by tile, so zooming in a 100 MP image stays fast.
You can also copy the new, reference or diff image to your clipboard, to paste it in a chat or a slide.
Video viewer
Videos play in sync with the reference's. Pick how to compare them above the videos:
| Mode | What you see |
|---|---|
| Side by side | New on the left, reference on the right. A cross shows where your mouse is on the other video. |
| Wipe | One video over the other: drag the divider to see new on one side, reference on the other. |
| Toggle | One video at a time: press t (or click its label) to flip to the other, in place. |
| Difference | How much each pixel differs, per color channel, amplified (×1 to ×64). Black means identical. |
QA-Board remembers your choice for all videos. Swap (or t) exchanges new and reference.
- Play and pause: click the videos, or press Space. Paused, both videos show the same frame.
- Frame by frame: ← and →, or the step buttons. Shift moves by a second. The frame number shows next to the time.
- Zoom with the mouse wheel or a pinch, pan by dragging: both videos follow, even if their resolutions differ. Zoomed in, you see the actual pixels; the toolbar shows the coordinates of the one under your mouse. 1:1 shows one video pixel per screen pixel, the percentage button fits the videos again.
- Speed and loop: slow down to 0.1× to look at fast motion, or loop a short clip.
- Frames: the camera button copies the current frame (new, reference or difference) to paste it in a chat or a slide, or saves it as a PNG.
The keyboard works on the viewer under your mouse, or the one you clicked. The keyboard button lists all the shortcuts.
If a video shows "Can't play this video", your browser doesn't support its codec: see video formats.
Other viewers compare too: text files show a diff (press t to swap sides), plots overlay the reference (dashed or faded) on the new results. See the list of viewers.
Metric diffs and colors
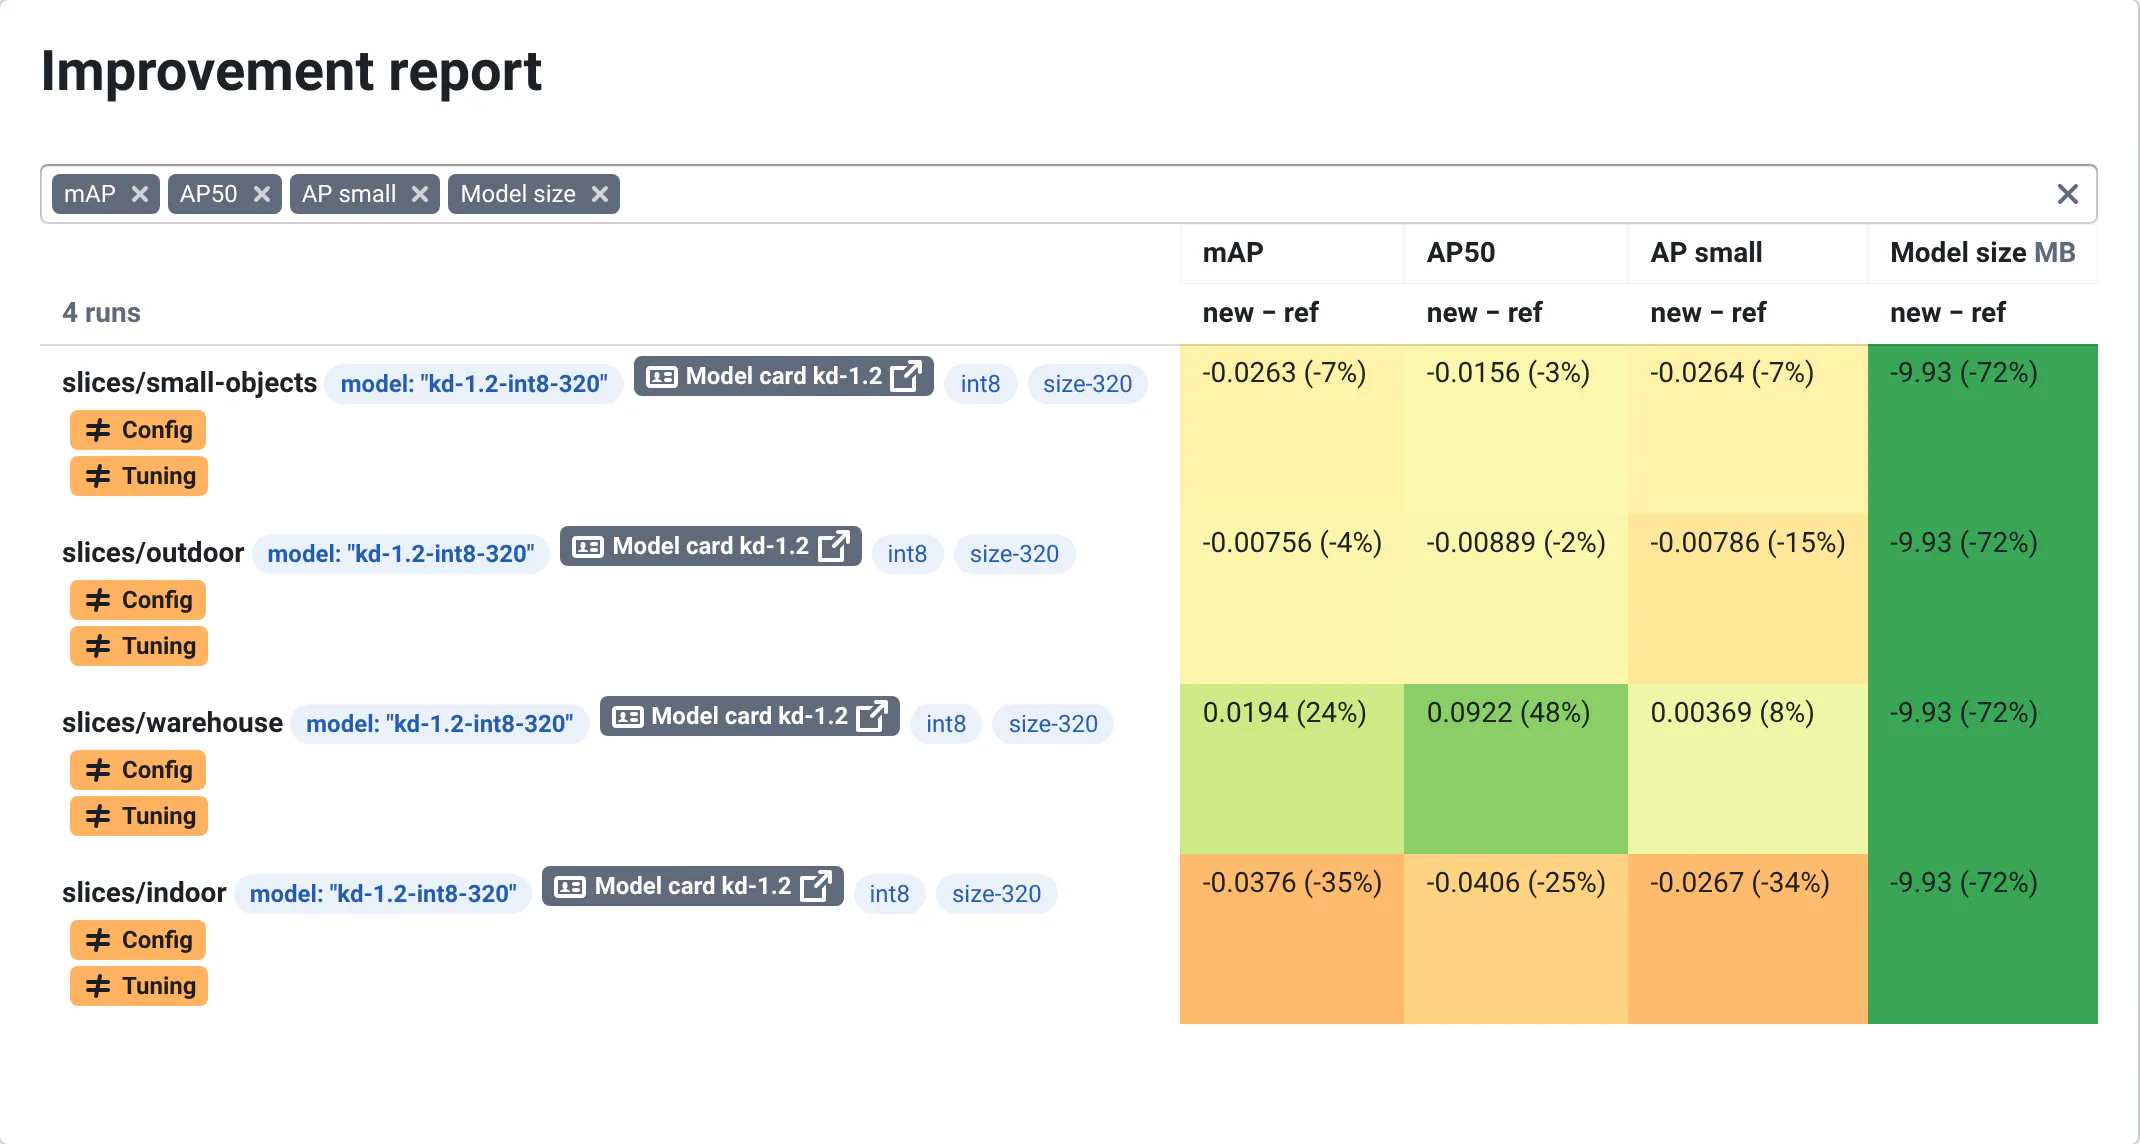
Colors follow the same rules everywhere:
| Where | Green | Red | Neutral |
|---|---|---|---|
| Summary, card tags | New is better than the reference, by more than 1% | New is worse by more than 1% | Change under 1% |
| Metrics Diff | New is better | New is worse | Yellow for small changes, = when equal |
| Metrics Table, card tags | Meets the metric's target | Misses the target | No target defined |
"Better" depends on the metric: the project's configuration sets whether smaller is better (the default) and the target for each metric. Hover a metric's name to see its full label and description, and hover a value for its exact number.
Learn how projects define metrics in Computing quantitative metrics.